In the previous article we deployed our appliances. Before to go live, we are going to update some settings and update the self-signed certificates with CA-signed certificates. With that done, we will connect both appliances together, which will allow replications to be configured between the appliances.
Remark: the certificate update only makes sense if you already configured CA-signed certificates for your other vSphere components (have a look here if you want to update the certificates of the vCenter Server Appliance). If you didn’t, and don’t plan to do it, just skip this step!
Basic configuration
Let’s start by connecting to https://my-appliance:5480 (if you haven’t created a DNS record, now is a good time to do it!). You can ignore the certificate warnings.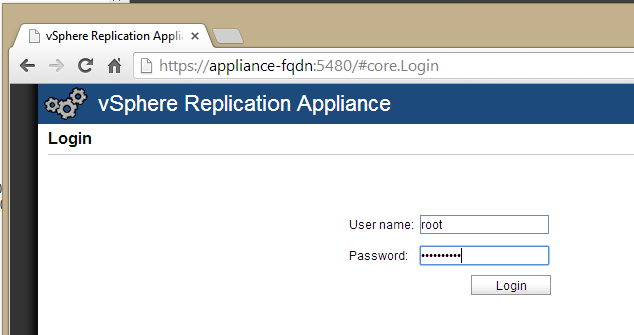 Now click on Configuration. We will replace the IP address in the VRM Host field by the FQDN of the appliance. Beware: this field must match the subject name of our certificate later on! Click on Save and Restart Service when you’re done.
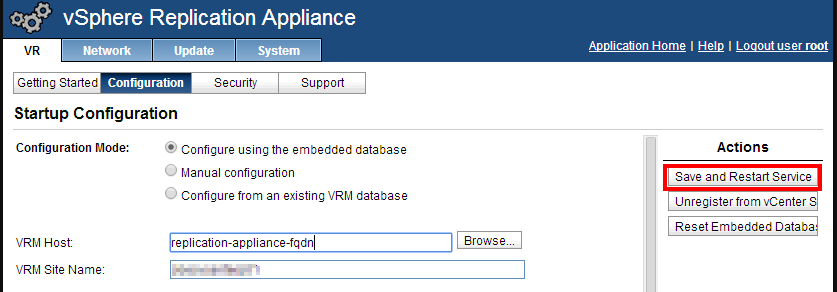 This is going to take several minutes. When it’s done, we go to System, Time Zone, configure the correct time zone, then Save Settings.
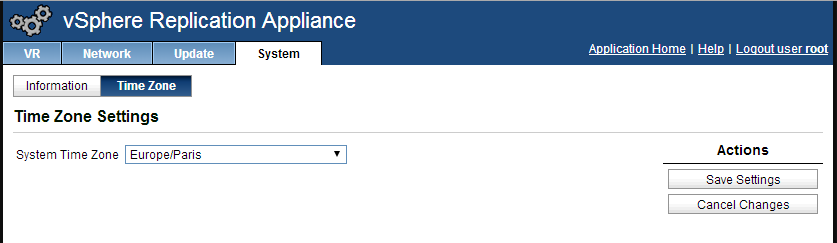 You can also check your network settings in the Network tab. Here for exemple I’ve added a second DNS server.
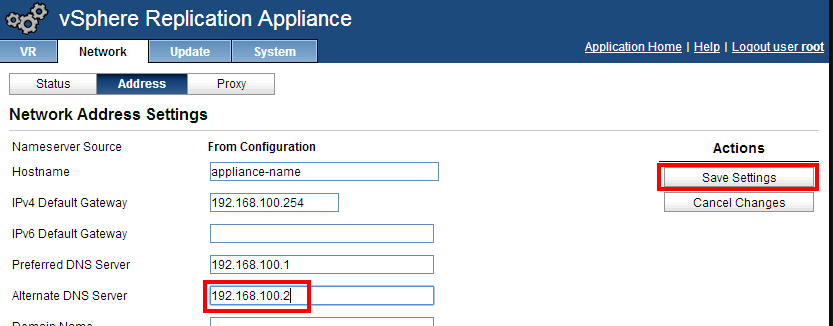 As you can see, nothing special here. Repeat these little configuration steps for the second appliance. If you don’t wish to update the certificates, you can immediately jump to the next part, where we will connect the appliances. If you’re interested in the certificate update, let’s do it now!
CA-signed certificate configuration
Unlike vCenter Server, there is no automation possibility yet for the generating and installing custom CA-signed certificates for a vSphere Replication Appliance. Therefore, we will do the steps manually, by following parts of the official kb. I assume that you have already generated and installed certificates for your vCenter Servers and that all the required bits are ready: a certificate template, OpenSSL… If you don’t have the environment ready, then you probably haven’t updated the certificates for the vCenter; do this first!
Creation of the certificate
Start from your Widows machine where the tools are ready and create a folder to store the certificates of your replication appliances, one folder per appliance. In each folder, create a configuration file for the certificate request.
 This configuration file should contain the following text (the fields that you must customize are in bold).
[ req ]
default_bits = 2048
default_keyfile = rui.key
distinguished_name = req_distinguished_name
encrypt_key = no
prompt = no
string_mask = nombstr
req_extensions = v3_req

[ v3_req ]
basicConstraints = CA:FALSE
keyUsage = digitalSignature, keyEncipherment, dataEncipherment
extendedKeyUsage = serverAuth, clientAuth
subjectAltName = DNS: server1, IP: 192.168.100.10, DNS: server1.domain.com

[ req_distinguished_name ]
countryName = FR
stateOrProvinceName = BeautifulProvince
localityName = MyCity
0.organizationName = My Company
organizationalUnitName = vSphere Replication Appliance
commonName = server1.domain.com
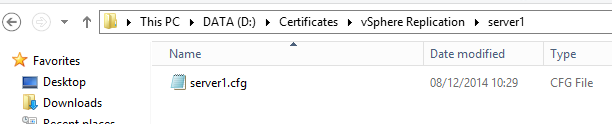
Save the file as server-name.cfg, here I used server1.cfg. Let’s now generate the certificate request, which is made of a .csr file (our request) and a .key file (our private key). Open a command line in the location of the configuration file and type:
c:\OpenSSL\bin\openssl.exe req -new -nodes -out server1.csr -keyout server1-orig.key -config server1.cfg
As before, update the fields written in bold characters. Your folder’s content should now look like this: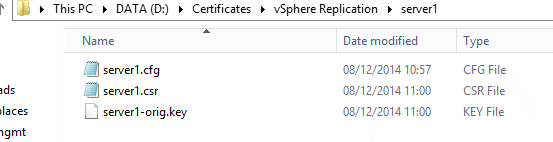 Let’s now request our certificate (here, at an internal Microsoft CA). Update the fields in bold characters.
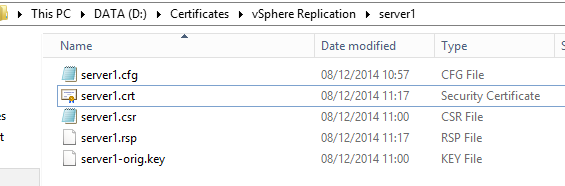
certreq -submit -attrib CertificateTemplate:VMware-Certificate -config "my-CA-server\my-authority" server1.csr server1.crt
The CertificateTemplate parameter must be followed by the display name of your VMware certificate, and the config parameter must match your CA. This creates a new .crt file, which is the certificate:
 The private key must follow the RSA standard. This is done by typing:
C:\OpenSSL\bin\OpenSSL.exe rsa -in server1-orig.key -out server1.key
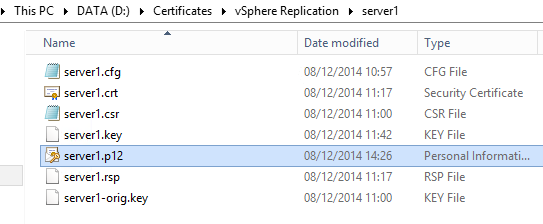
We can now generate a PKCS#12 certificate, which is what our appliance requires:
c:\OpenSSL\bin\OpenSSL.exe pkcs12 -export -in server1.crt -inkey server1.key -name "server1" -passout pass:replication55 -out server1.p12
And here is our certificate!
 Import the certificate on the appliance
We are now going to import the certificate on our appliance. Connect to the web interface at https://appliance-fqdn:5480 and connect with the root account. Go to the Configuration tab.
Click Choose file, then browse to the .p12 file and click Upload and install.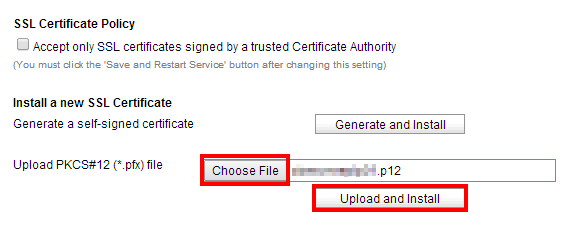 You will be prompted for the certificate password. If you followed this guide, it should be replication55.
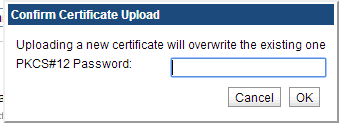 After a few minutes, the appliance will request you to log out. Close the browser and re-open it to check that the new certificate is now in place:
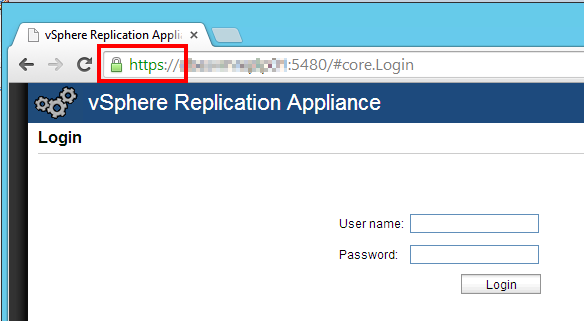 Congratulations! The new certificate is now applied. Repeat these steps on the second appliance. When you’re done, you are ready to connect the appliances.
Connect the appliances
Now that our two appliances are configured, we will connect them together, enabling cross-site replication. Just as reminder, in our scenario we have deployed one appliance on the production site, and one on a disaster recovery site, in a topology similar to this one:
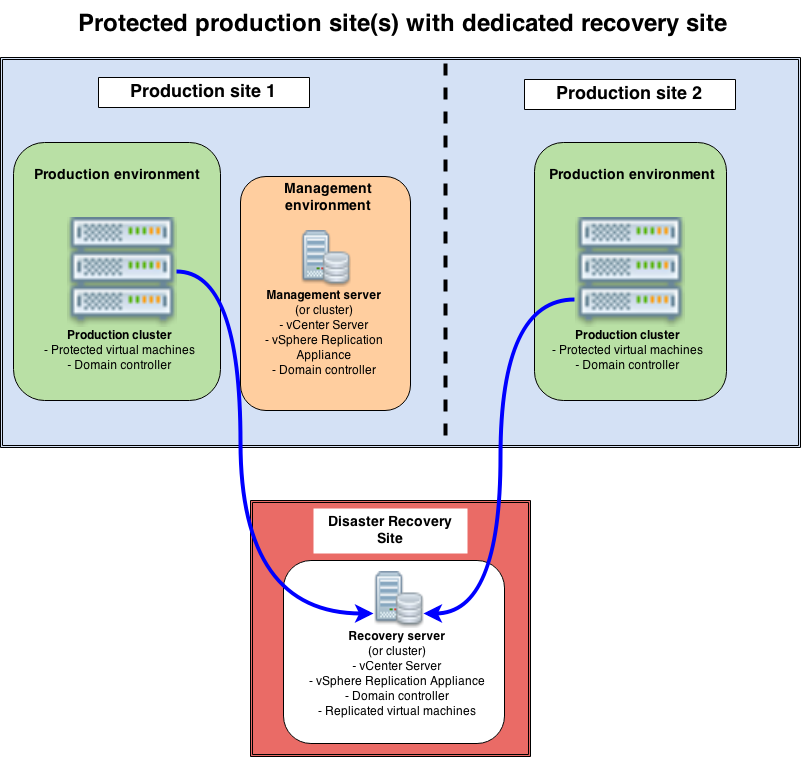 Our main replication traffic is obviously from the production clusters to the recovery server. However, it can be useful to reverse this replication flow, for instance if you need to failback to the production site after a recovery. Therefore, we will configure the links to support both replication flows.
Let’s start on the production vCenter (the order doesn’t matter) and click on the new vSphere Replication icon.![]() There are two options: Monitor and Manage. To connect both appliances, we are going to click Manage.
There are two options: Monitor and Manage. To connect both appliances, we are going to click Manage.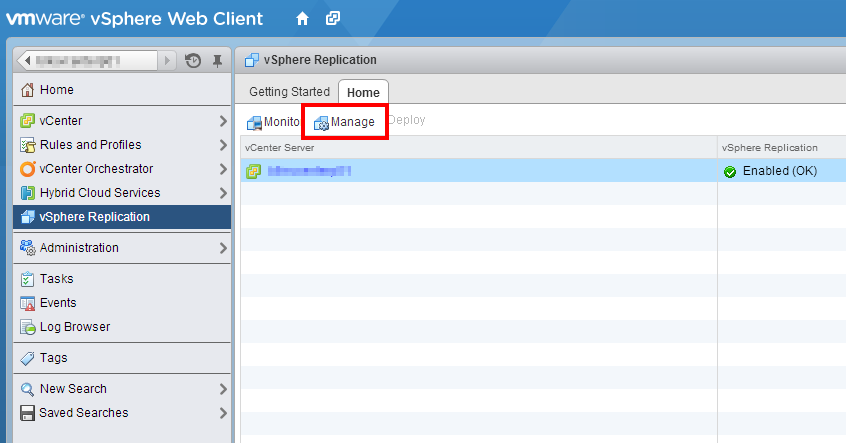 First check if the appliance is registered properly (availability OK, name and version displayed), then go to Target Sites. If the appliance is not available, solve the issue before to continue!
 Let’s add the target site: click the small icon on the top left.
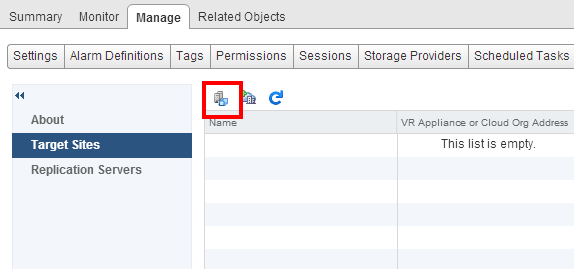 Target the recovery vCenter and enter valid credentials for this site. We use a service account which has admin permissions on the remote vCenter, however you could define more specific permission profiles.
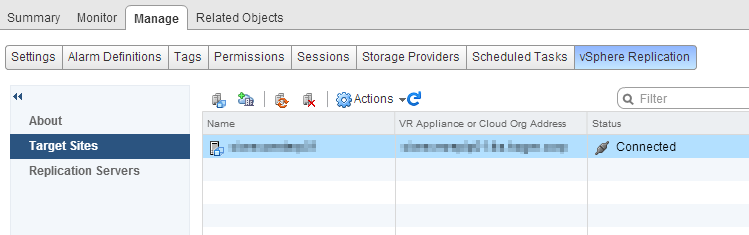
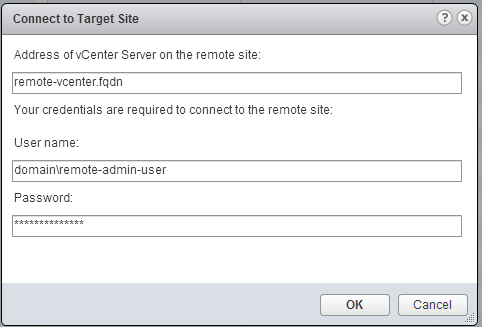 Ignore the certificate warning if you have one. After a few seconds, the new site shows up, as well as the remote replication appliance.
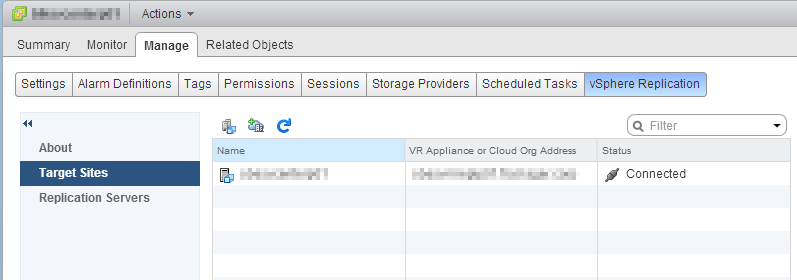 We could now configure replications to this remote site. But before to start, let’s configure the opposite replication flow by replaying these steps on the recovery vCenter. There will be a difference on the second vCenter as the peer vCenter will be displayed in the Target Sites already. However, it needs to be reconnected (select it and click the Reconnect button). You will be prompted for credentials and the site will be connected properly.
 What’s next?
The setup is finished! We have our two apliances, installed on both sites, each connected to its own vCenter. We can start to replicate virtual machines!
In the next part, we will go through the steps of configuring a new replication, and see which tools can help us to monitor this replication.