Today we are going to install a custom, CA-signed certificate for our new instance of vROps.
VMware published information about the certificate requirements (in short: .pem file, full certificate chain required), as well as a procedure to update the certificate. However this procedure is limited (it does not configure the certificate, for instance), so we are going to develop this part a little bit. As in previous articles, we are using a Microsoft-based certificate authority.
Preparation
We are going to rely on the tools installed for the certification of our VCSA. If you don’t have such an environment, a simple installation of OpenSSL should be sufficient to follow the next steps.
In a folder that will store your certificates, create a text file called my-vrops.cfg with the following content. Customize the bold fields.
[ req ]
default_bits = 2048
default_keyfile = rui.key
distinguished_name = req_distinguished_name
encrypt_key = no
prompt = no
string_mask = nombstr
req_extensions = v3_req

[ v3_req ]
basicConstraints = CA:FALSE
keyUsage = digitalSignature, keyEncipherment, dataEncipherment
extendedKeyUsage = serverAuth, clientAuth
subjectAltName = DNS: my-vrops, IP: 192.168.1.123, DNS: my-vrops.domain.corp

[ req_distinguished_name ]
countryName = FR
stateOrProvinceName = MaRegion
localityName = MyCity
0.organizationName = MyCompany
organizationalUnitName = vRealize Operations Manager
commonName = my-vrops.domain.corp
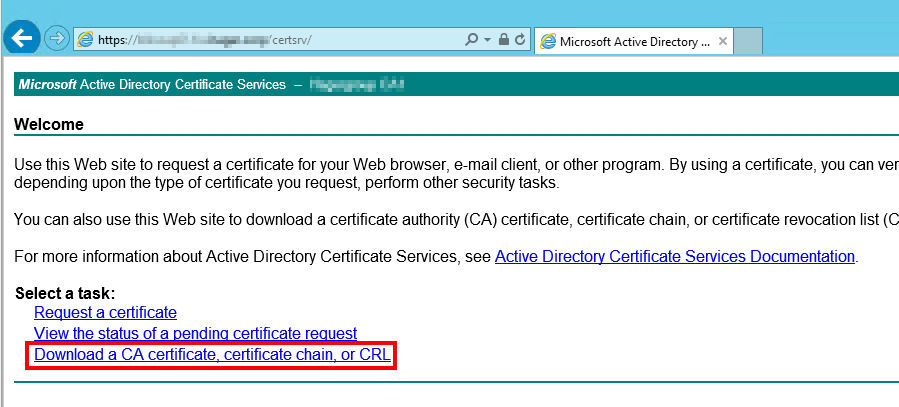
Now we need to download the certificate chain from our CA. Go to https://my-ca.my-domain.corp/certsrv (if it’s not working, try http…; if it’s still not working, the rest won’t work either; try to solve the problem first!). Choose to download the certificate chain.
 Select Base64 and download the certificate chain.
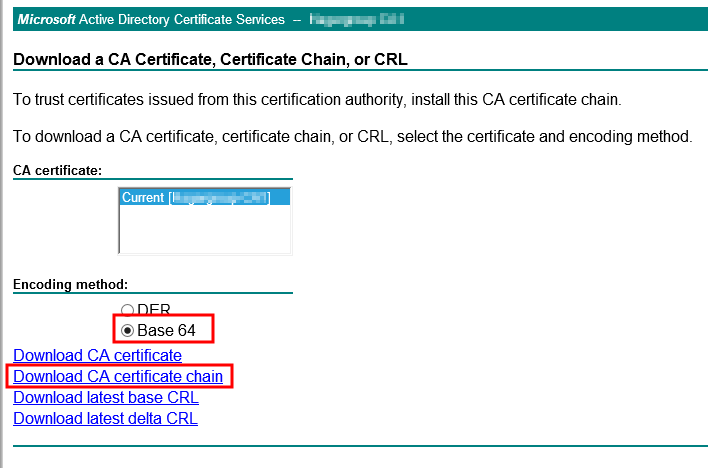 Save the file as cachain.p7b in the same folder than the my-vrops.cfg file.
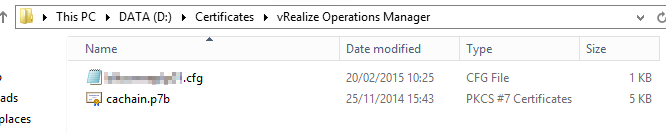 We now need to extract the certificates for the root and all intermediate authorities in the certificate chain. Open the cachain.p7b file (double-click) and develop until you can see the single certificates on the right. For each CA, export the certificate to a file.
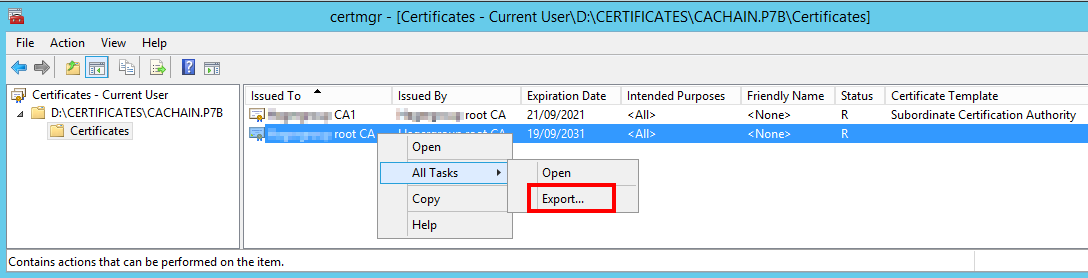 In the export wizard, select Base-64 and save the file to the some folder as my-vrops.cfg. Do that for each authority!
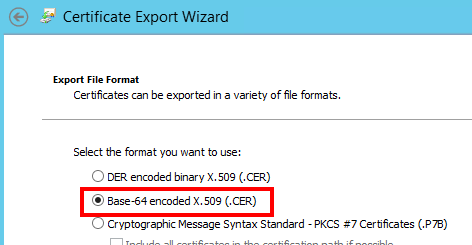 At the end of the process, you will have one .cer file for each certificate authority. In my case, I have a root and an intermediate certificate.
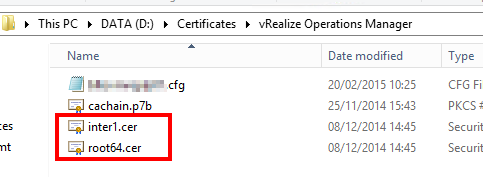 We are now ready to start!
Creation of the certificate
Let’s start by generating the private key.
C:\OpenSSL\bin\OpenSSL.exe genrsa -out "d:\certificates\vROps\my-vrops.key" 2048
Next, let’s create the certificate request (.csr file).
C:\OpenSSL\bin\OpenSSL.exe req -new -key "d:\certificates\vROps\my-vrops.key" -out "d:\certificates\vROps\my-vrops.csr" -config "d:\certificates\vROps\my-vrops.cfg"
We can now submit the .csr to our CA to get a certificate. The command line says:
certreq -submit -attrib CertificateTemplate:VMware-Certificate -config "my-server\my-CA" my-vrops.csr my-vrops.crt
You can notice the certificate template, which we created when we certified the vCenter. If you don’t have a custom template, you can check how to create such a certificate template here. I could not find exact information about the template configuration required for vROps, but the configuration for vCenter server works fine!
Once you receive the certificate you have all the components needed to create the required .pem certificate : the vROps certificate (my-vrops.crt), the vROps private key (my-vrops.key), the root certificate (root.cer) and one certificate for each intermediate authority (interX.cer). Let’s now create the complete .pem certificate.
type my-vrops.crt my-vrops.key inter1.cer root.cer > my-vrops.pem
Respect this order (app certificate, app key, intermediate certificate, root certificate) and add as many intermediate certificates as needed. Our .pem file is ready!
Installation of the certificate
If you are a well organized person, you have done all these steps before to install vROps. Then, during the installation, just upload the certificate when you’re asked to. But if you are more like me, you installed first and prepared after :). So we need to update the certificate afterwards. In the vROps management, you could be tempted to go to Administration, Certificates to update the certificate… but you would be wrong! 🙂
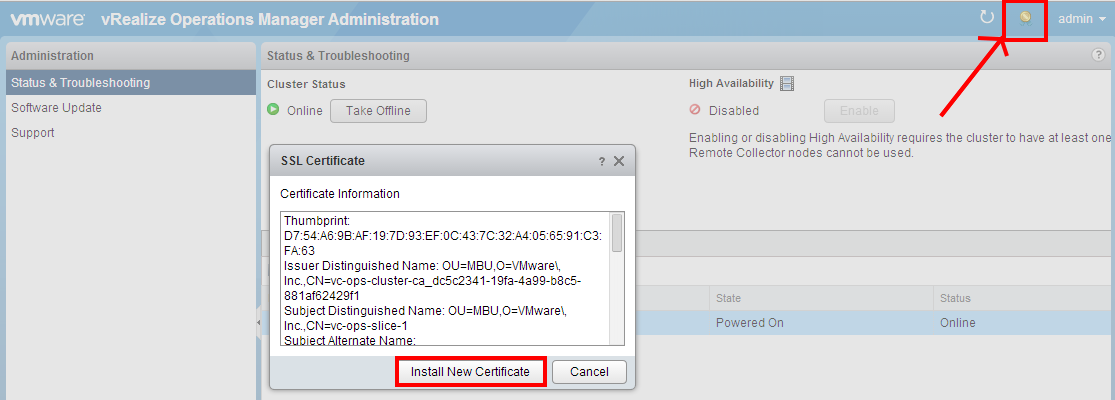
You have to log in specifically to the small administration website (https://my-vrops/admin), and click on the small icon on the top right of the screen as seen below. Then you can choose to Install new certificate.
 Choose to Browse for Certificate and upload your my-vrops.pem certificate. If you did right, you will see the certificate information in the Certificate Information field.
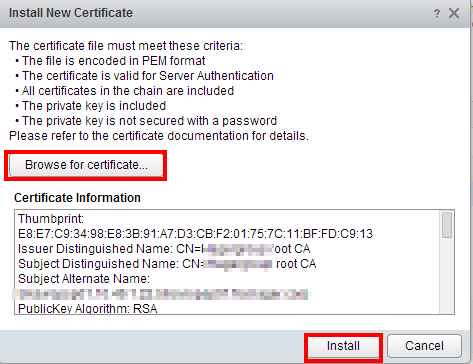
When you click Install, you will be disconnected and reconnected, but at least with Chrome, this will not refresh the certificate. Better close the tab and reopen it to check that the custom certificate has been imported properly.

Done! No need to restart anything, the certificate is applied immediately. We can now return to the discovery of vROps! 🙂