I’m a huge fan of the vCSA (vCenter Server Appliance). Since version 5.5, I consider it suitable for production and will perfectly replace a manually installed Windows server. In fact, the Windows-version even looks like a dinosaur now :).
In this article, we are going to deploy a new virtual appliance on a standalone ESXi host and make the initial configuration.
Prerequisites
- Define a FQDN for your new vCenter Server.
- Define an IP address.
- Create an appropriate DNS record.
- If you want to integrate the appliance to your Active Directory (which I recommended), you will need an AD account to join the appliance to the domain.
- Download the latest OVA file from VMware. At time of writing, it’s 5.5u2b.
Deploy the appliance
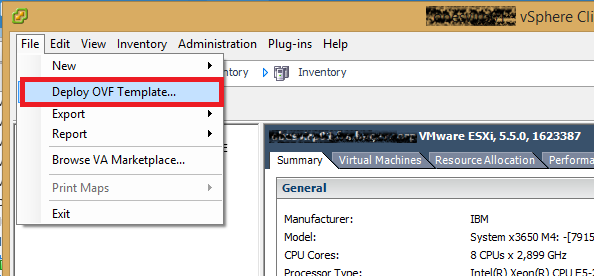
First, connect with a root account to your standalone ESXi host, go to the File menu and select File, Deploy OVF Template…
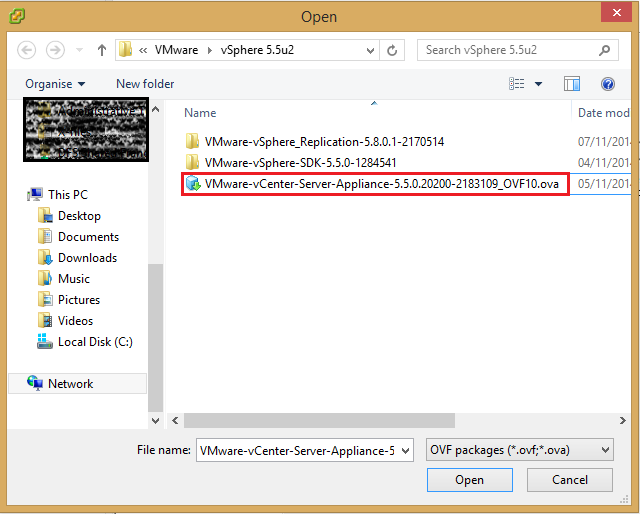
 The wizard starts and asks you for the file location. Choose “Local” and browse to the download path of the appliance. Select the file and click Open.
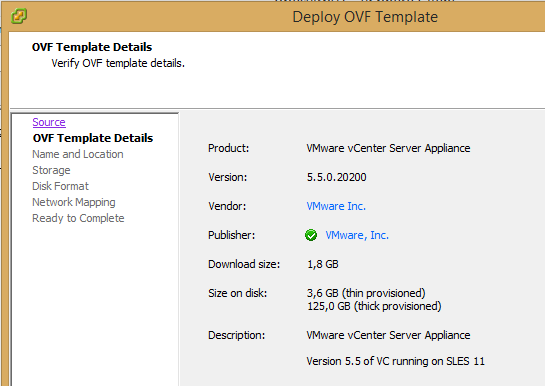
 You will get the OVF template details. Click Next.
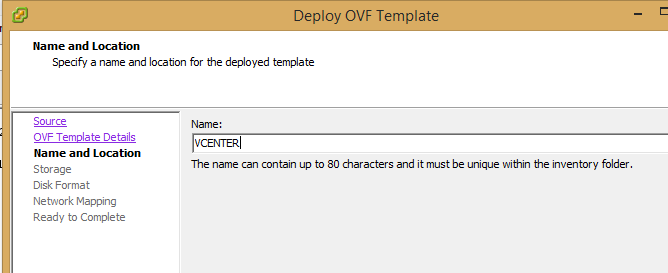
 Choose a name for your vCenter Server. Express your creativity! (… I didn’t 🙂 )
 Select a datastore for the virtual machine files. Here I’m choosing a local datastore.
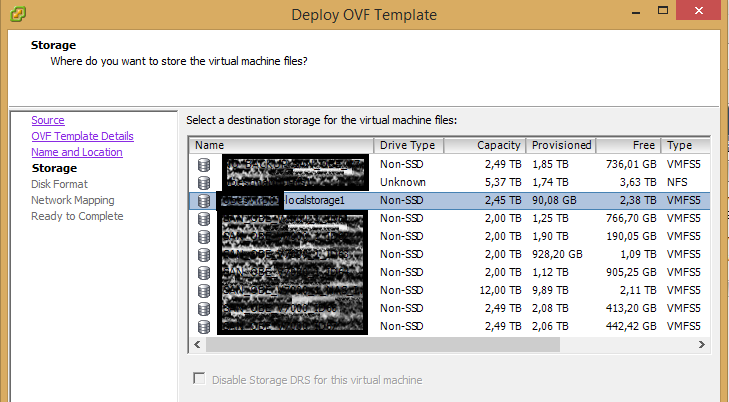
Yes, I know that’s ugly… 🙂
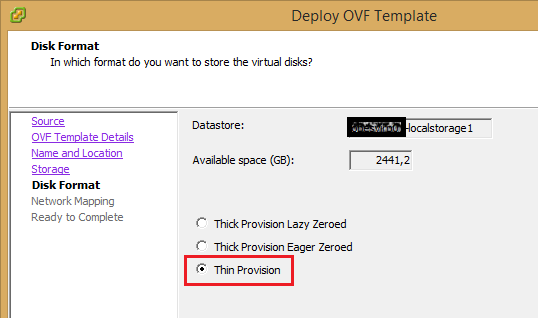
I like to use thin provisioning as much as possible. When you can save disk space…
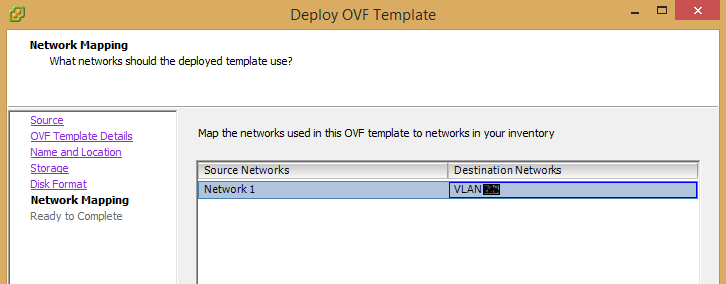
 Now, map the network of the vCenter Server to the appropriate VLAN. This typically would be the server VLAN, or maybe a management VLAN if you have one. If you have DHCP on that VLAN it’s perfect, if not be prepared for some command line action later on 🙂
 And you’re done! Click Finish to start the deployment.
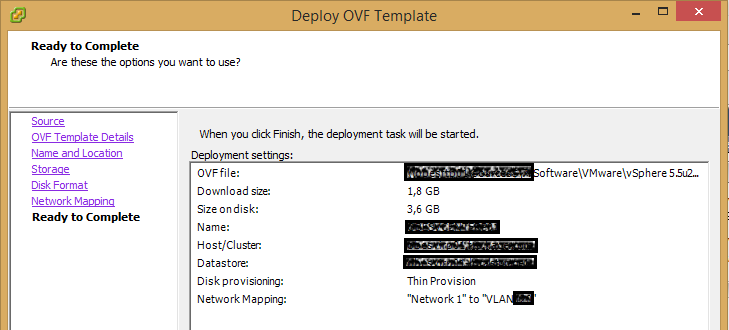 Depending on your network connection this will take a few minutes.
 The appliance is ready!
Initial configuration
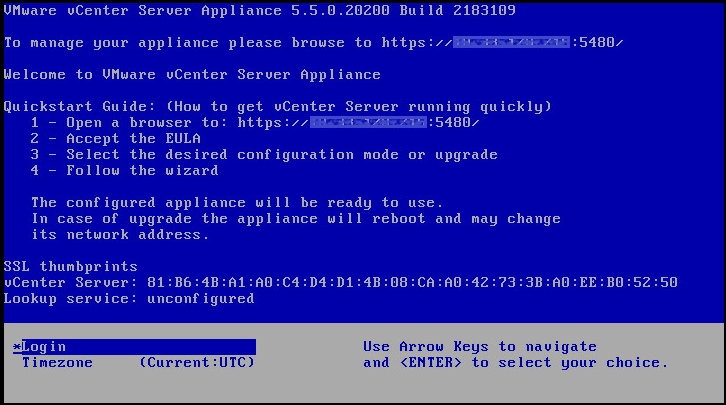
Open the console to your new vCenter Server. You should be welcomed with a screen similar to this one.
 Now, if you have a DHCP server in your VLAN it’s fine, but if not, you’ll be unable to access the webpage where the setup wizard starts.
Manual IP configuration
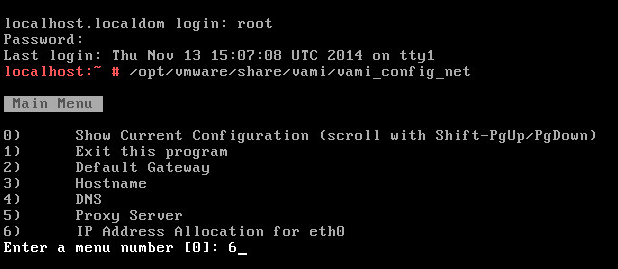
In order to manually configure an IP address on your appliance, login to the appliance (the default credentials are root/vmware). Type:
/opt/vmware/share/vami/vami_config_net
This will start a menu-based tool which will assist you to define the IP address of your appliance. Type 6 to enter the IP configuration menu.
 You will probably want to avoid IPv6. Select “y” for IPv4, “n” for DHCP, then type your IP address and your netmask. Confirm and you’re back to the menu.
Now press 2 for the definition of the default gateway. By default it is associated to eth0 (we don’t have anything else anyway). Type the IP address of your gateway and ignore IPv6 again. The settings are applied and you’re back to the menu again.
Check your settings (0) and exit the configuration menu (1). Back to the shell, type “exit” to go back to the blueish welcome screen. You should now see your IP address!
Setup wizard
With your preferred web browser (I find that Chrome works best for VMware products, but it’s up to you), open the https://myvcenter:5480 URL. It’s good opportunity to check your DNS record (use the name, not the IP address). If it doesn’t work you should check this before to continue!
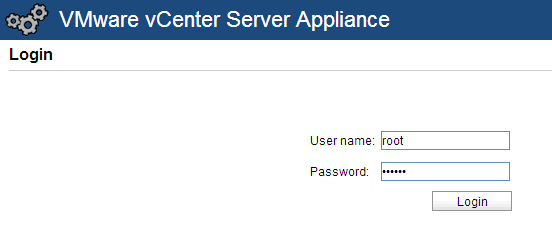
You will have warnings about the untrusted certificate, ignore them for the moment and login with root/vmware again.
 The EULA just pops up, as a first step of the setup wizard, but we’re not ready yet. Accept the EULA and Cancel the wizard. We need to configure a hostname first!
Click on the Network tab, Address, and configure all the required settings: hostname, IPv4 gateway and DNS. Then save the settings.
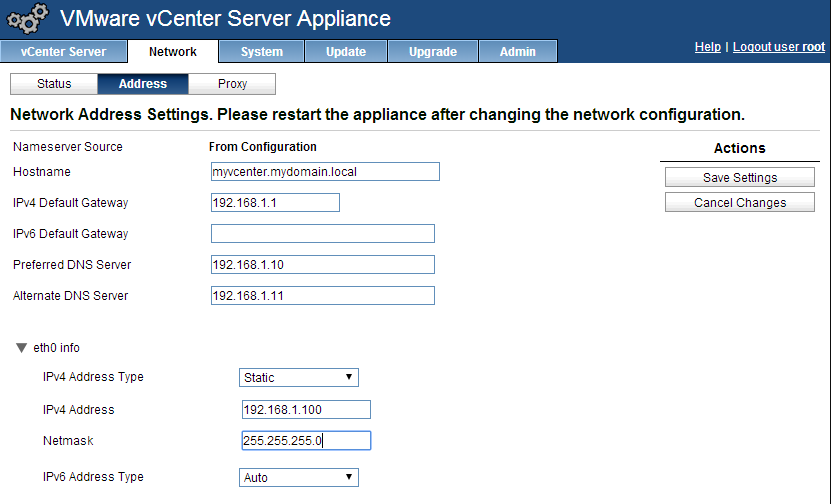 You can check the results in the Network/Status tab. If everything is ok we can start the wizard again. Go to the vCenter Server tab, Summary, and Launch the setup wizard. Once your have decided or not to join the Customer Experience Improvement Program, the wizard starts for real!
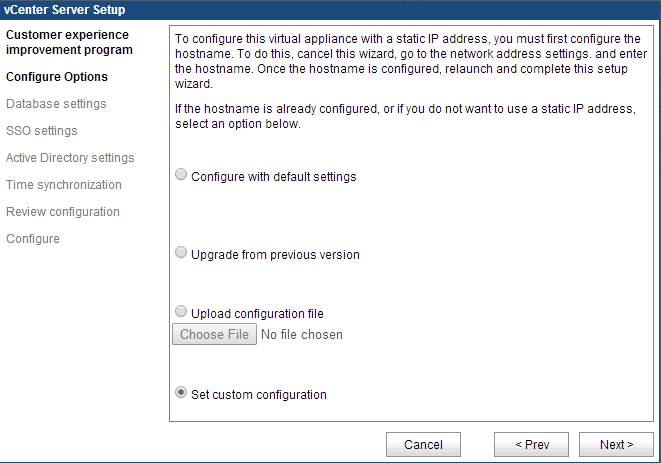
We will go with the custom configuration.
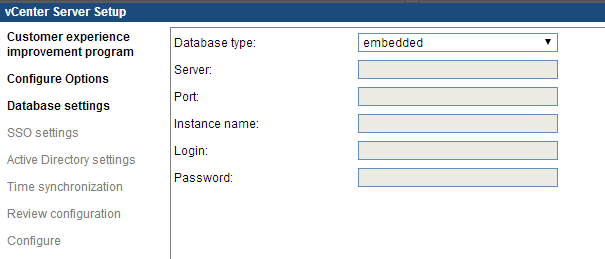
 Database configuration. The embedded database (postgreSQL) supports up to 100 hosts; this should be more than enough for most environments! We will choose this embedded database and continue.
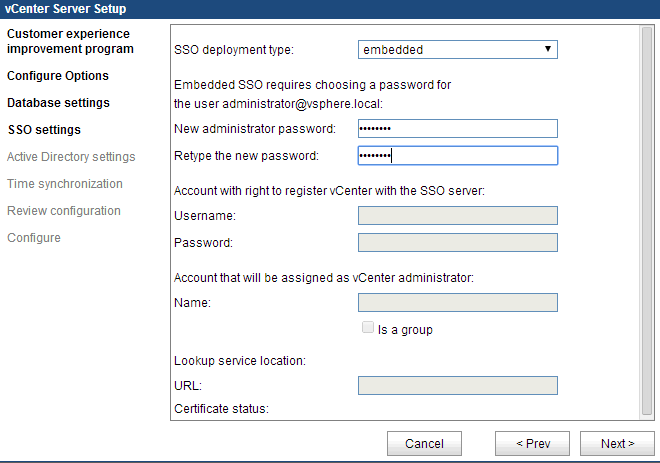
 The SSO component manages authentication for the appliance and its components. We can either rely on the integrated SSO engine or connect to an external SSO provider. As we install a standalone vCenter instance, we will keep the default choice: embedded. Find a secure password for administrator@vphere.local and click Next.
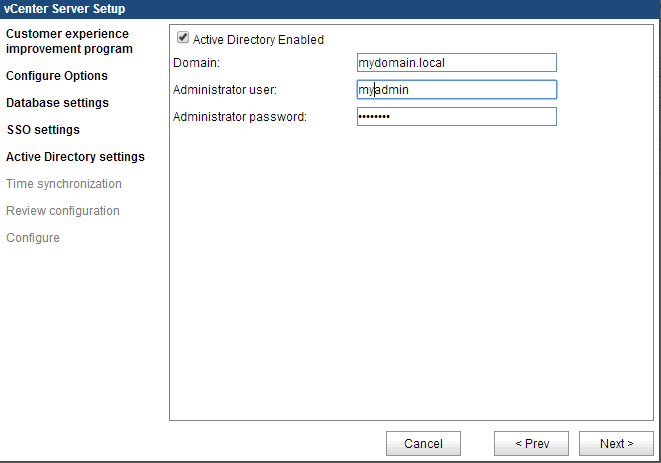
 In this step we have the possibility to join Active Directory. The main benefit of joining Active Directory is to make the authentication configuration easier, as we will see in part 2 of this guide. The account must have permissions to add computer objects to the Computers OU; if a policy prevents that in your organization you must create the object manually before to run this step.
 If you have Active Directory enabled, the next step (time sync) will be skipped and the appliance will use your domain controllers as a time source. If you keep your appliance out of the domain (or if you want to add it later) you will have to setup time synchronization. Example with ntp servers:
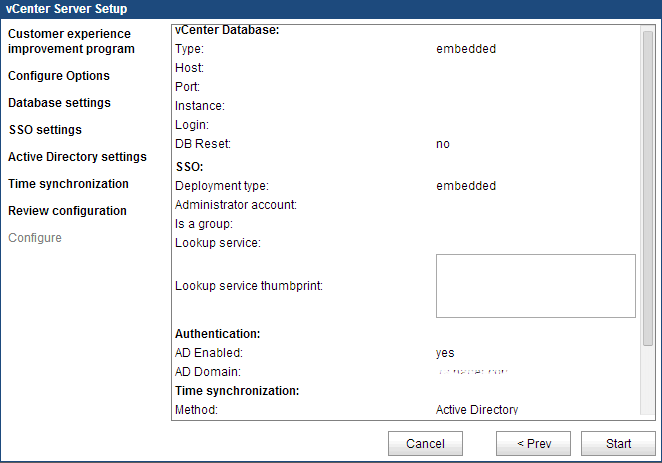
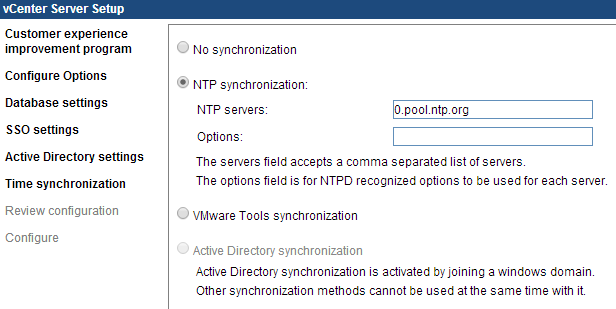 Finally you can review your settings one last time and click Start.
 Done!
Done!
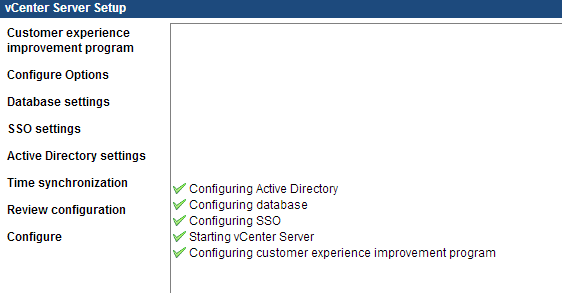 You have successfully deployed the vCSA! You can now login to https://mycenter:9443/vsphere-client to see the results of your efforts.
In the next article, we are going to do some advanced configuration tasks on our vCenter appliance, like configuring authentication, email and database monitoring.