In Part 1 of our article series, we have explained the background behind our ownCloud installation on a shared web hosting service. In this second part, we will focus on getting the product online, ready for the the first login.
Prerequisites
The first step is obviously to purchase a web hosting plan and choose a domain name, if you haven’t any yet. This is out of the scope of this article but does not represent a big challenge. Even the cheapest plan will easily run your ownCloud installation. The important criteria are:
- a MySQL database included in the plan (not an absolute requirement, but highly recommended).
- support for PHP 5. Should be ok everywhere, but just in case…
- disk space: this highly depends on your needs. If you have no idea yet, 50 or 100 GB could be a reasonable starting point!
You could also be interested in choosing a provider with a datacenter located in your country. A provider offering SSL access is also a plus.
There are many hosting providers on the market and I can’t give you an absolute recommendation. I personnally use OVH, but you should be fine with one of the many others too (hostgator, 1and1, Gandi…). Regarding the domain name, you can purchase a new one with your plan (http://myowncloud.me), but if you already have a running website, you could easily setup ownCloud in a subfolder of your existing website (e.g. http://mysite.me/owncloud).
A final word; some hosters now offer a one-click ownCloud installation. I recommend that you manage the installation yourself, but if you’re really afraid of the technical steps required for the installation your could give it a try (and then, skip directly to part 3).
Prepare the MySQL database
Once you have cleared the hosting and domain name preparation steps, the first task is to prepare a database. OwnCloud can run on an embedded SQLite database, but it’s slower and does not scale well. If your provider does not offer a database this could be a workaround, but if you can, I recommend that you have a “real” database to support your ownCloud installation!
Here are the steps to create a database at OVH; the concept should be the same for any other service provider.
- Login to your personal manager. (OVH manager URL)
- Locate the SQL management tools.
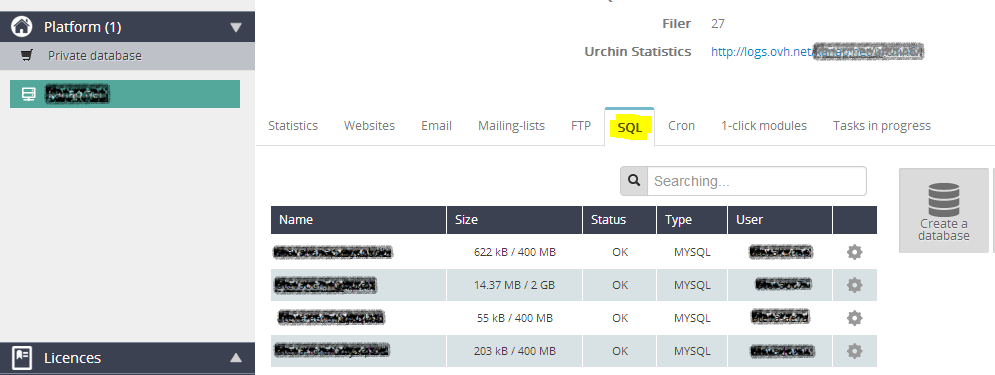
The SQL management dashboard at OVH
- Create a new database. Choose a database name and select MySQL as database type. After a few minutes the new database should be created and you will receive an email with all informations: SQL server name, database name, SQL username and password.
The database is ready!
Upload ownCloud to your provider
Now we have to push the ownCloud files to our provider.
- Download the ownCloud installation package here. Select the Archive File option and choose your preferred package type (zip or bz2).
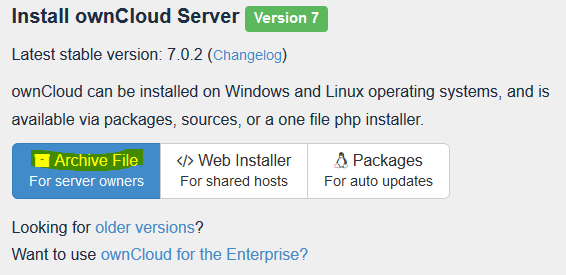
Select the Archive File option!
- Unpack the downloaded archive.
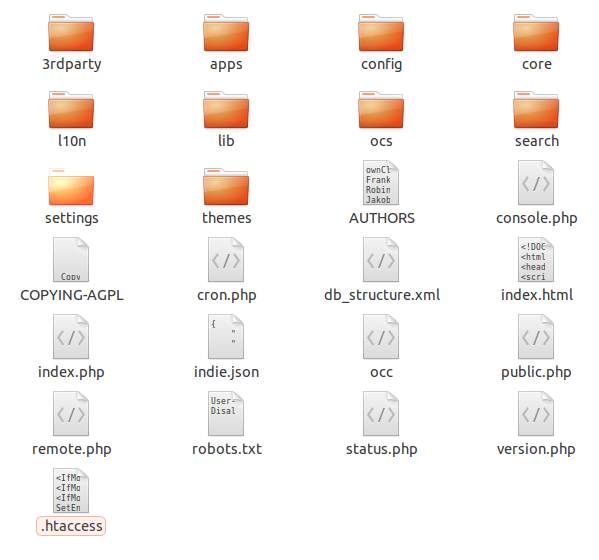
Content of the file archive.
- Using a FTP tool like Filezilla, upload the files to your web hosting space. The hostname, username and password should have been provided by your provider. You have two options:
- Upload directly in the “www” folder. In this case, your site will be accessible directly over the base URL (http://www.myowncloud.me). A good choice if you’re only interested in ownCloud.
- Upload to a subfolder of www. Your website will have a longer URL (http://www.mysite.me/owncloud) but you can use the root site for something else later on. Could be more flexible!
When the files are uploaded, you are ready for the configuration of your ownCloud site!
Initial configuration
In this step we are going to make the basic setup of ownCloud: connect to the database, configure an administrator, and log in for the first time!
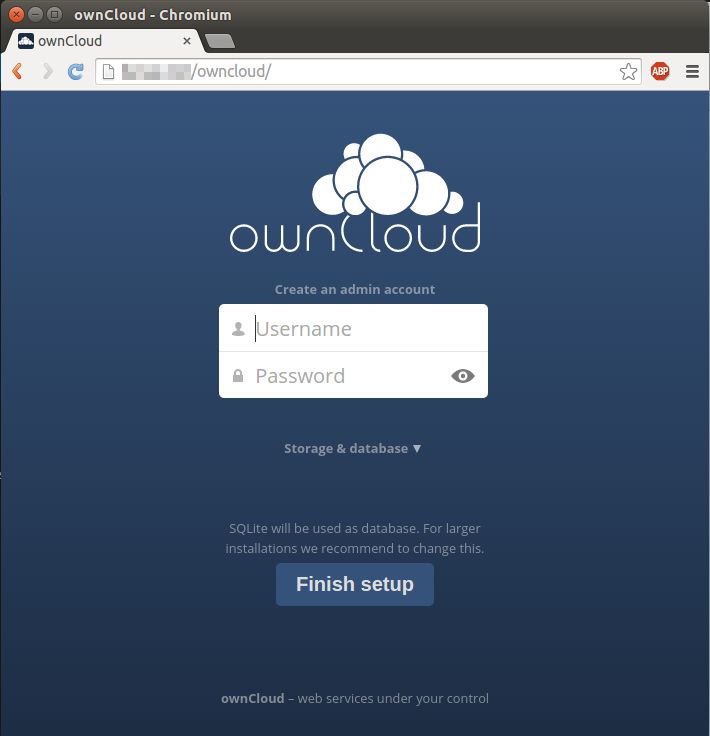
Start by accessing your ownCloud upload folder with a browser. The URL would be http://www.myowncloud.me if you uploaded to the root of www, http://www.mysite.me/owncloud if you uploaded in a subfolder. Things should look like that:
 First, let’s celebrate! You’re accessing your ownCloud installation for the first time!
But we’re not finished yet. The first thing is to define an administrator account for ownCloud, and of course a secure password. Then, if you did not / could not setup a MySQL database, there is nothing else to do ; click the Finish setup button!
If you did choose a MySQL database, develop the “Storage & database” drop-down menu and provide the informations related to your database (DB name, username, password, server name). You should have received them from your provider in the previous steps. If you haven’t received a server name, try localhost! This is how it looks like.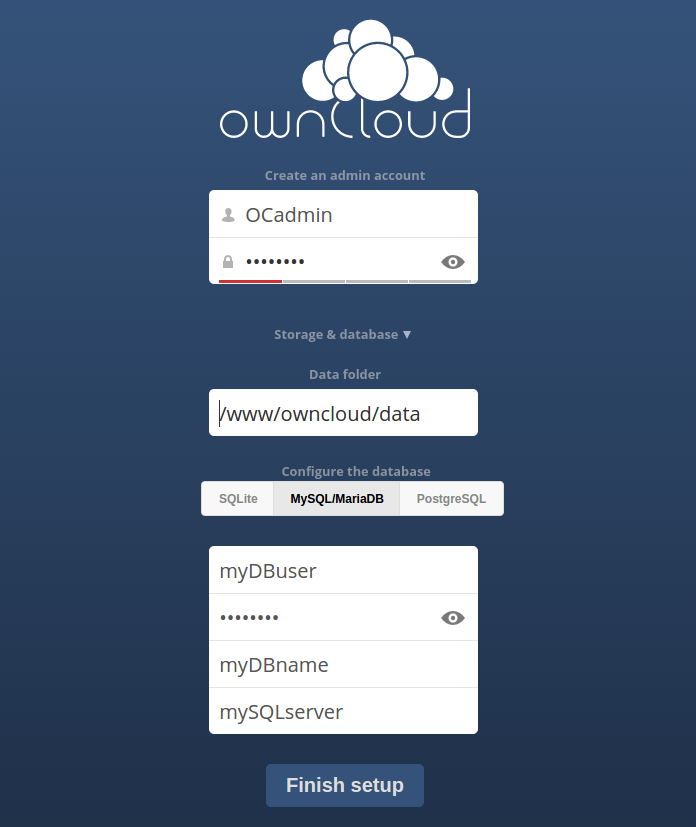 Notice the Data folder, which is where ownCloud stores all your personnal data. The wizard automatically configures the location of this folder: there should be no reason to change the path in our web hosting scenario.
When you’re ready, click the Finish setup button. The wizard will proceed to the last steps of the configuration. And…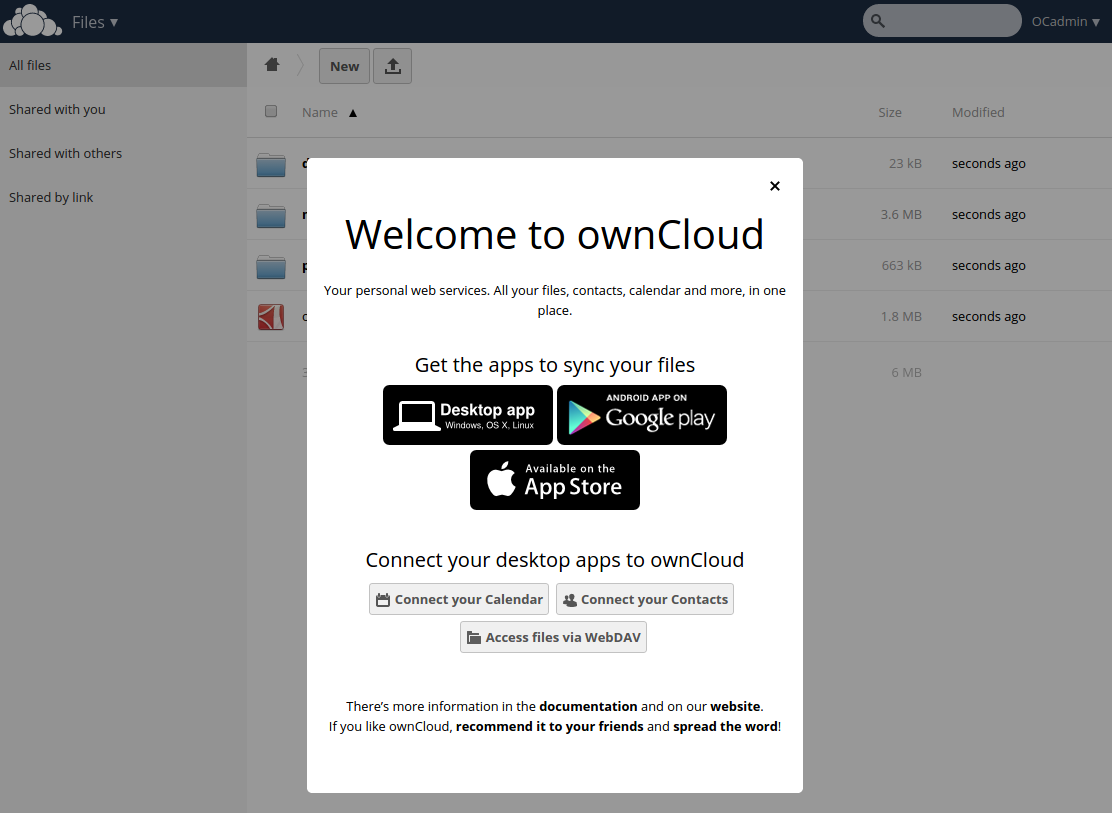 Congratulations! Your ownCloud installation is up and running!
You are now connected as our ownCloud super admin (defined during the installation wizard). I called this user OCadmin. While OCadmin is a perfectly valid user, we are only going to use this login to configure our ownCloud instance. And this is what awaits us in the third part of this guide!